Guides · How to
How to resize many photos at once on a Mac
Three ways to do it, from what’s already on your Mac to a dedicated app, with the right sizes for web, email and social.
Short answer. For a few photos, use Preview: open them all, select them in the sidebar, choose Tools › Adjust Size and then File › Export Selected Images, so the originals are not overwritten.
For dozens or thousands of photos, exact sizes, WebP or AVIF, a watermark or removing the GPS location, use a dedicated app like Misuro: drop the photos, pick the size, export.
Sending photos to a client, uploading them to a website, attaching them to an email: almost always they first need to be smaller. Doing it one at a time is slow, and macOS already has two ways to do it in batches. Here they are, with their limits, and then the faster way.
1. With Preview, already on your Mac
- In the Finder, select the photos and open them with Preview (⌘ O).
- Show the sidebar (View › Thumbnails), click a thumbnail and select them all with ⌘ A.
- Choose Tools › Adjust Size, set the width (for example 2048 pixels), keep Scale proportionally on and press OK.
- Choose File › Export Selected Images, pick a folder and a format, and export.
Careful: if you just close the windows or use Save, Preview resizes the originals. Always use Export Selected Images, or work on a copy of the folder.
Limits: Preview gets slow with hundreds of photos, it exports only to formats such as JPEG, PNG, HEIC and TIFF (no WebP or AVIF), and it has no presets: every time you start from scratch.
2. With the Finder’s Quick Action
- Select the photos in the Finder.
- Right-click › Quick Actions › Convert Image.
- Choose the format (JPEG, PNG or HEIF) and the size: Small, Medium, Large or Actual Size.
The copies are created next to the originals. It’s quick, but you can’t choose the exact pixels, the quality or the folder.
3. With Misuro: any size, in seconds
Misuro is a Mac app made for exactly this: bringing batches of photos to the right size, quickly and without uploading them anywhere.
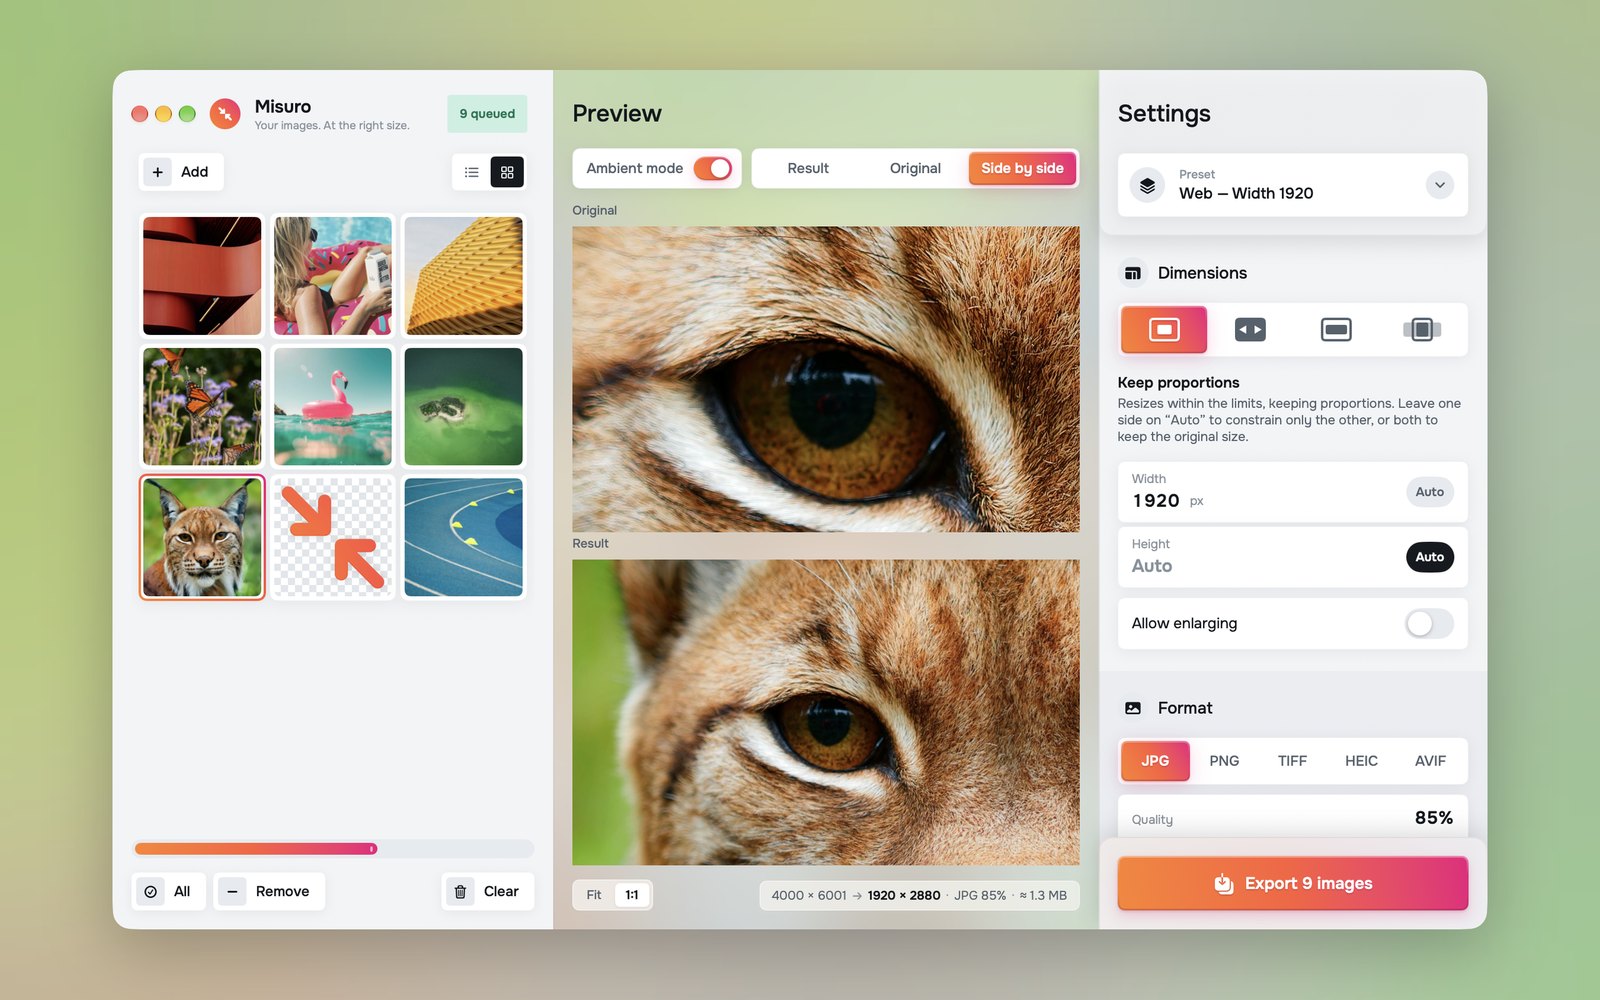
Step 1: add the photos
Drop photos or whole folders into the window. Thousands of images are fine: they’re processed in parallel.
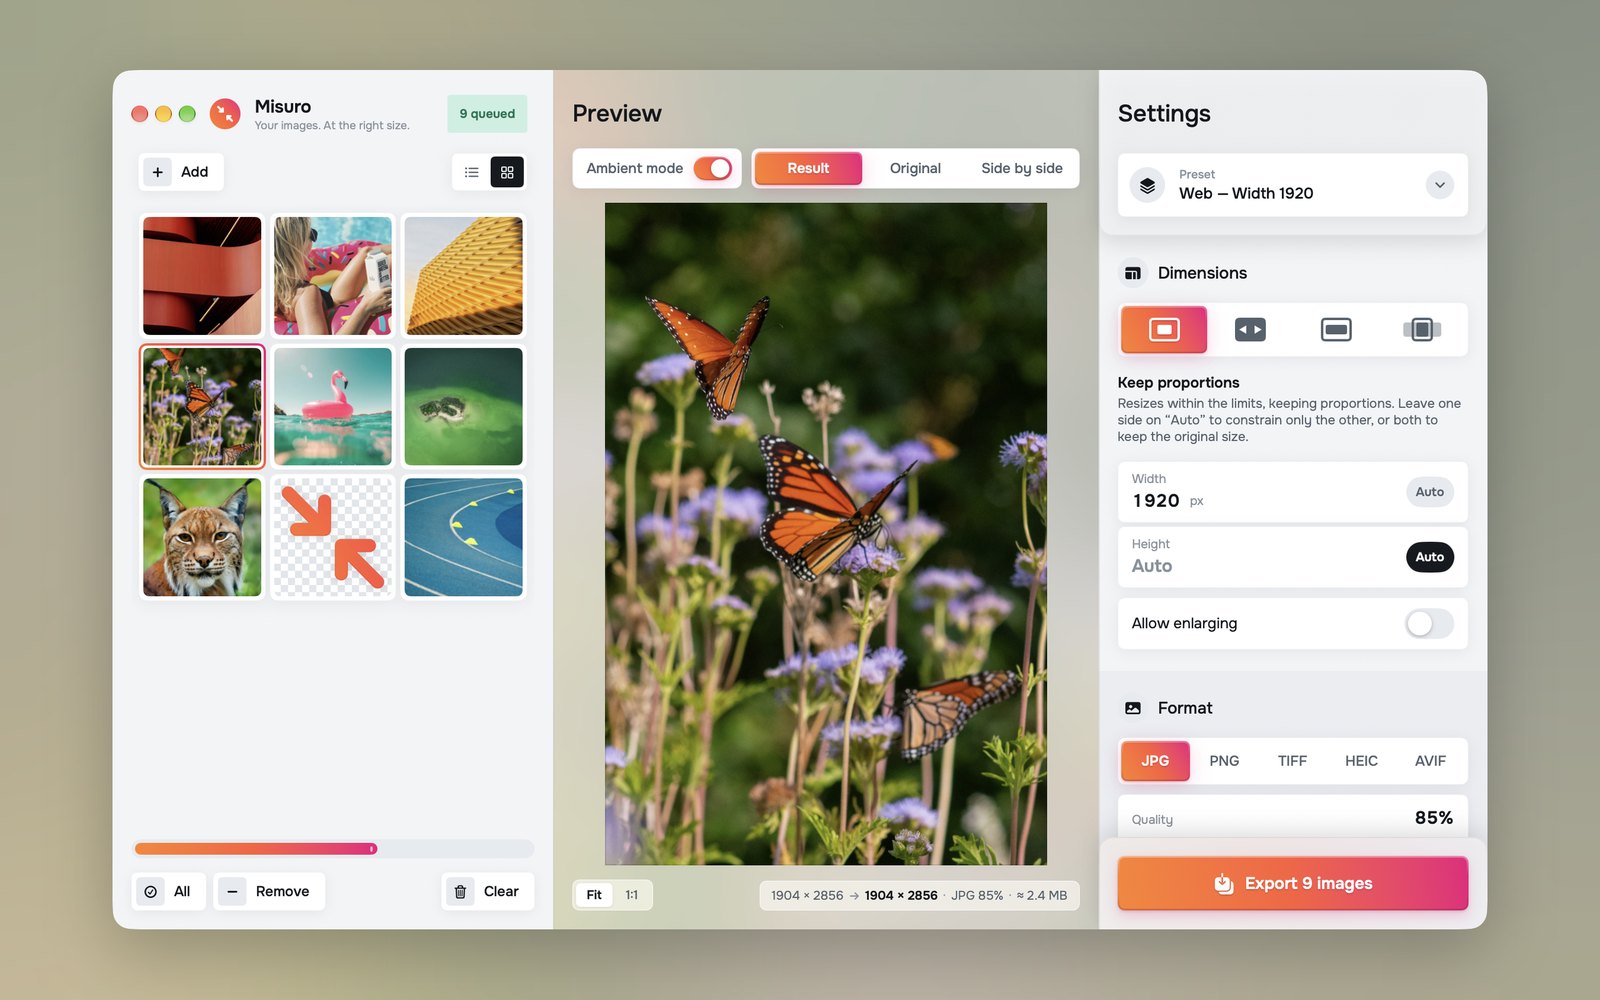
Step 2: choose the size
Pick a preset (Web, Email, Social square or portrait, 4K screen) or type your own width and height. There are four ways to resize:
- Keep proportions: the photo fits within the limits; leave one side on Auto to set only the other.
- Exact size: exactly the pixels you ask for.
- Fit with borders: the whole photo in the frame, with coloured or transparent borders.
- Fill and crop: the frame filled edge to edge, cropping around the point you choose. Ideal for 1080 × 1080 or 1080 × 1350 posts.
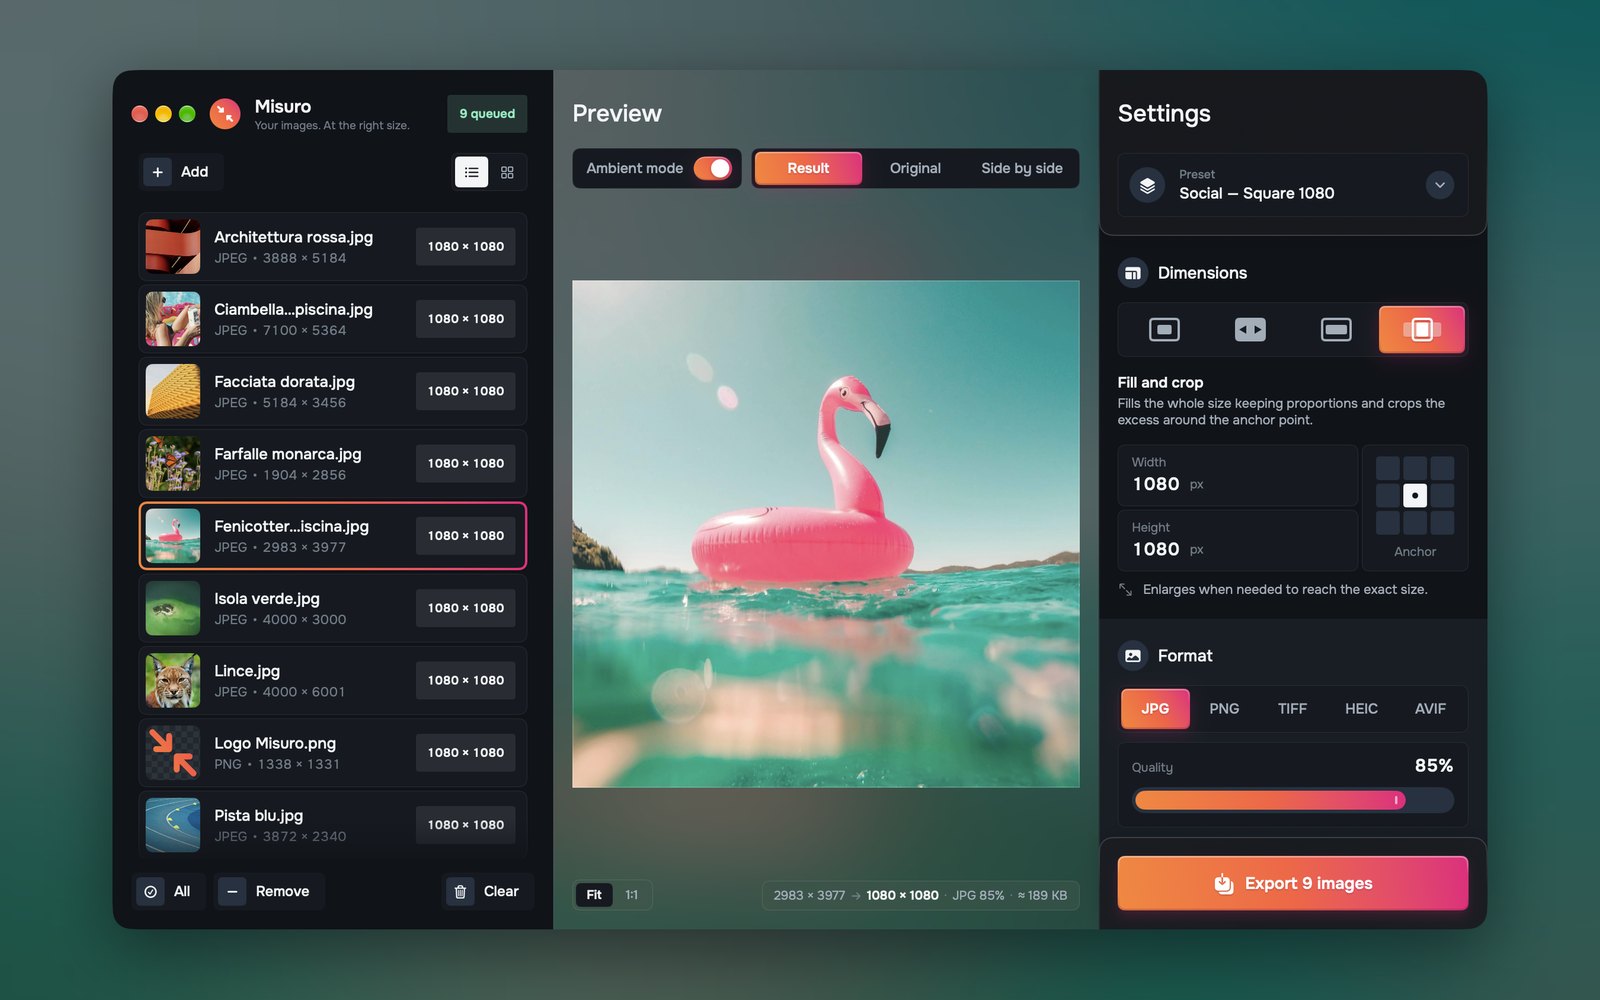
Step 3: choose format and quality
JPEG, PNG, WebP, HEIC, AVIF or TIFF, with the quality you prefer. The preview shows the result already compressed and the estimated weight. Not sure which format? We measured them on nine photos.
Step 4: export
Press Export and choose where: a folder of your choice, or next to the originals, in a “Misuro” subfolder. The originals are never touched, and existing files are never overwritten.
Even faster, without opening the window
- From the Finder: select the photos, right-click › Quick Actions › Resize with Misuro.
- From the menu bar: drop the photos on the Misuro icon and they’re exported at once.
- Export on drop: with the option on, each photo you drop into the window is exported immediately.
Which size to choose
| Use | Size | Format |
|---|---|---|
| Website, blog | 1920–2048 px wide | WebP 90 or JPEG 80 |
| Email attachment | 1280 px long side | JPEG 75 |
| Instagram, square post | 1080 × 1080 | JPEG 85 |
| Instagram, portrait post | 1080 × 1350 | JPEG 85 |
| 4K screen, presentations | 3840 px wide | JPEG 85 or HEIC |
Three tips before you send
- Remove the location. Phone photos contain the GPS position where they were taken. In Misuro, Colour & Metadata › No GPS removes it and keeps author, copyright and shooting data.
- Don’t enlarge. Leave Allow enlarging off: a small photo stretched to a big size only gets blurry.
- Sign them. A text watermark (your name or © studio) can be added to the whole batch, with position and opacity of your choice.

Misuro for Mac
Batch resize, crop and convert photos, from the window, the menu bar or the Finder. Offline, one-time purchase.

Read next
Photo credits
Cover photo: Azim Khan Ronnie on Unsplash.
Photos inside the Misuro screenshots: Unsplash.